Digital Photography Terms
Underexposed

Are your pictures coming out too dark? Do shadows in your pictures show details or are they just black shadows? Ever thought much about the dark side of photography?
Pictures that are underexposed are too dark. Pictures that are overexposed are too light. How’s that for covering the basics.
What Is Exposure?
To understand any of this you have to first have to know the basics of exposure and what it means for your pictures and for photography.
When you press the shutter button your camera’s shutter is opened. While the shutter is open your camera’s sensor is exposed to the light coming through your lens.
The impression of light (or lack of light or shades of light) on the sensor creates your photograph. The resulting image is also called an exposure.
Then you have your camera’s exposure settings.
These settings control the amount of light coming through the lens as well as how much light the camera sensor absorbs. You control your exposure settings through your camera ISO, your camera shutter speed and your lens’ aperture settings.
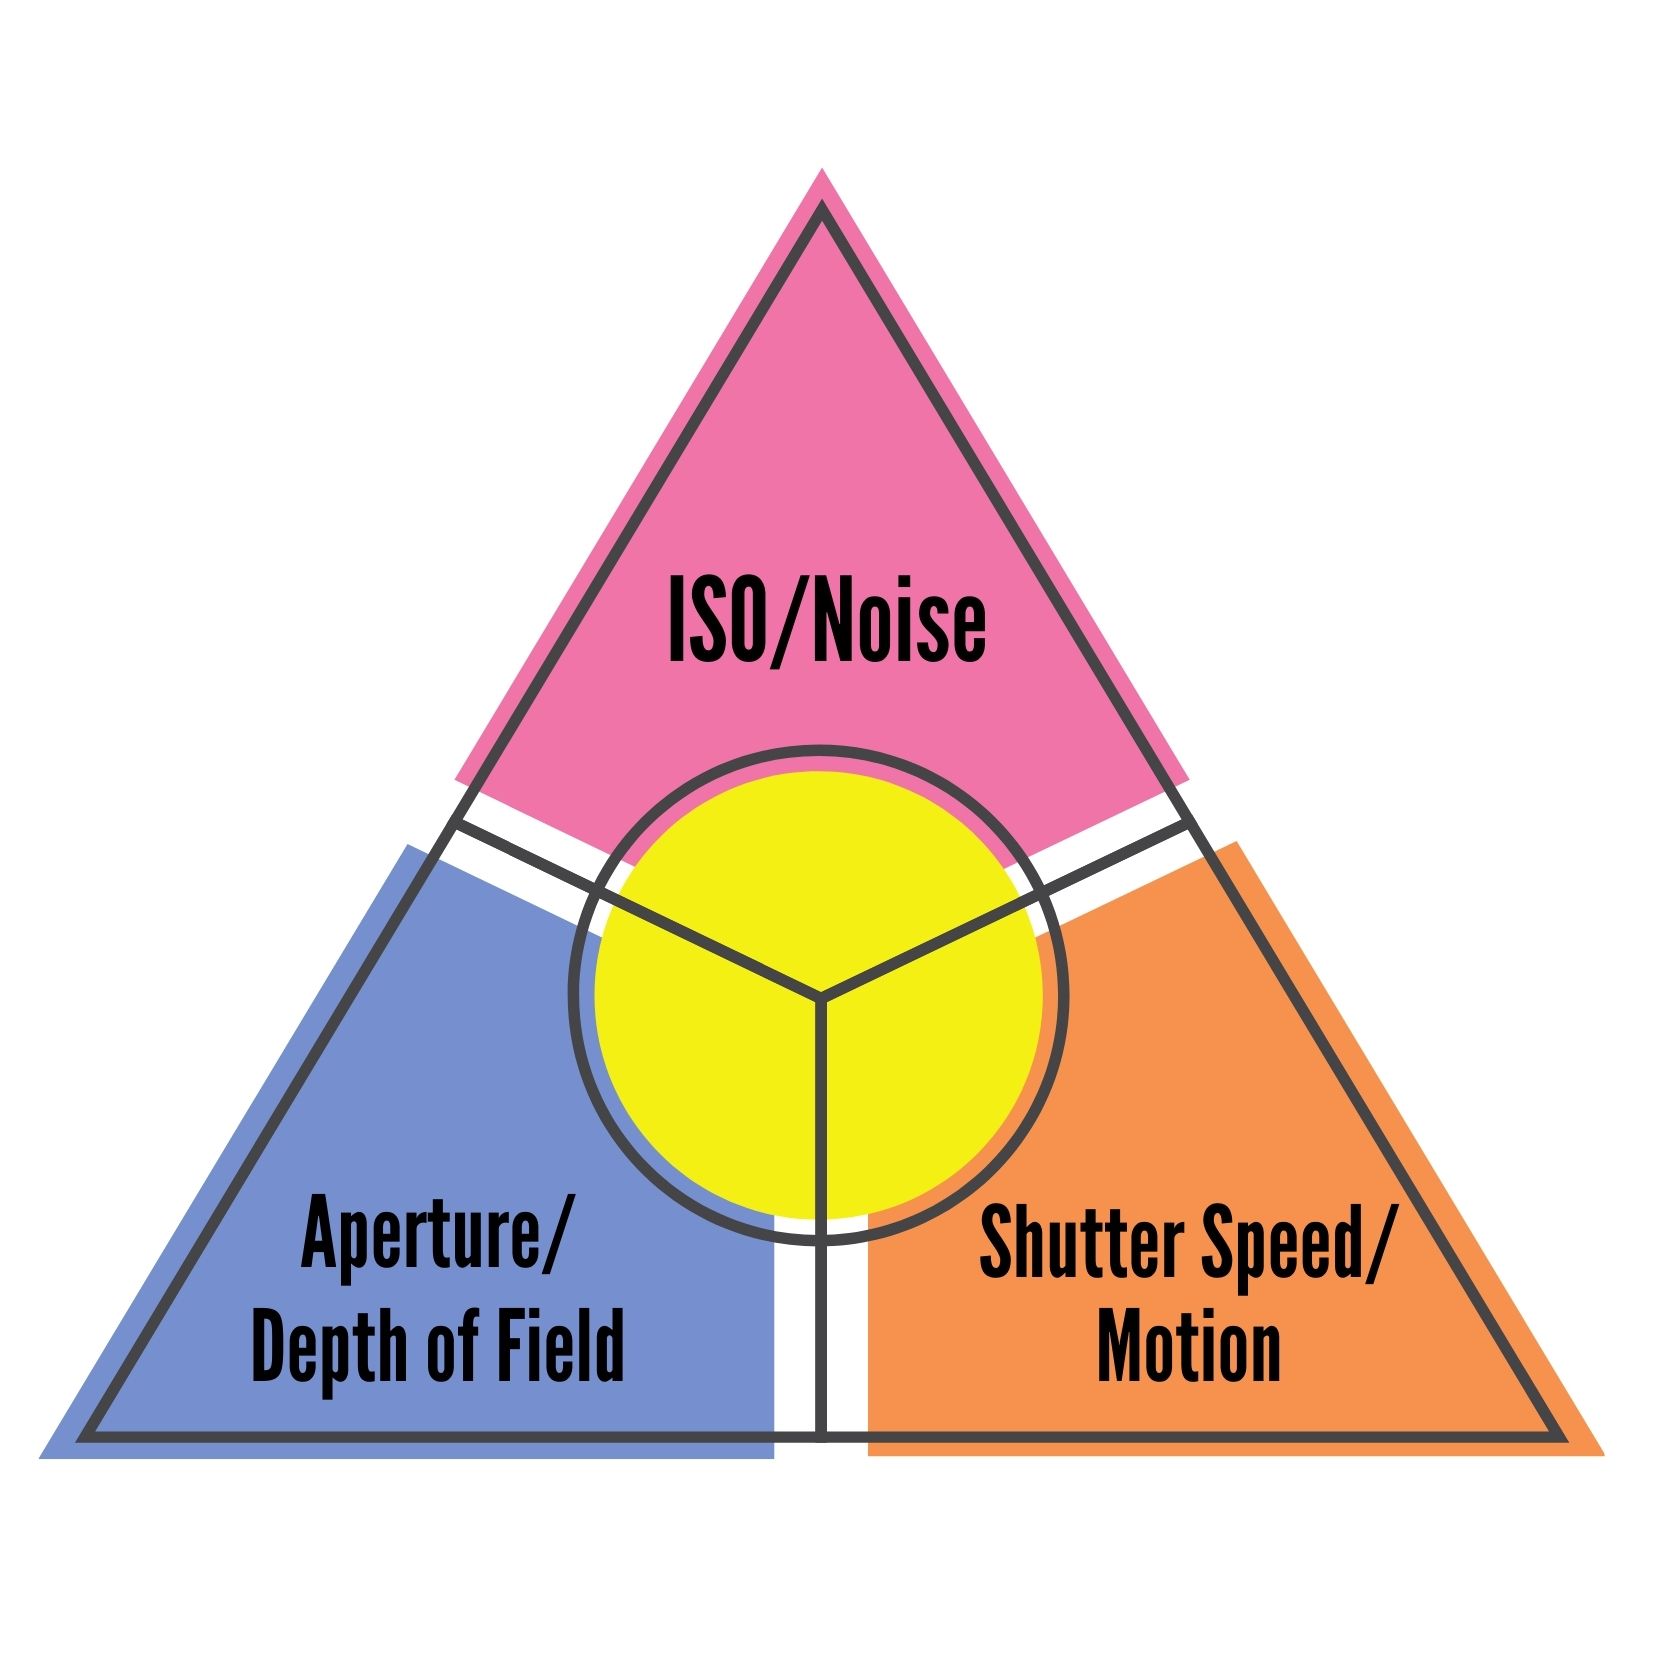
If your pictures are coming out too dark, there are some setting adjustments you can make to your ISO, shutter speed and aperture. Keep in mind, these settings operate much like the three branches of government.
There are checks and balances that you, the photographer, have to consider when adjusting any camera setting. Since you are a superhero photographer, think of ISO, Aperture and Shutter Speed as your superhero sidekicks.
For example, if you increase your ISO you will get more noise in your picture. If you narrow your lens’ aperture (use a higher f/stop) you may lose the beautiful background blur (or bokeh) that makes your subject stand out.
Also, when you use a long shutter speed you have to watch out for motion blur (and you may even have to use a tripod or monopod!).
Here’s some quick tips to help you find the right settings to prevent, avoid and altogether stay away from underexposing your pictures.
Open Your Lens Aperture
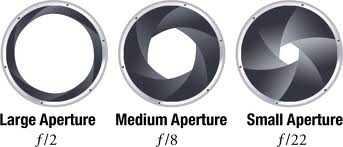
Your lens’ aperture is like a tube within your lens. (Like a roll of paper towels). When you use a low f/stop (like f/2.8) you are opening your aperture (making the hole bigger).
This lets in more light. It also creates a shallow (or thin) depth of field which produces that beautiful bokeh we talked about.
When you narrow your lens’ aperture you are closing the hole through your lens allowing for less light to come through.
This narrowing of the lens’ aperture gives you a wide (or thicker) depth of field which works well in landscape, macro and architectural photography.
If your pictures are coming out too dark try using a lower f/stop.
Slower Shutter Speed
Your camera's shutter speed (how fast it opens and closes) determines how your picture is going to look.
When you use a fast shutter speed you can freeze action. Have you ever seen a picture of a baseball player hitting a ball?
A fast shutter speed stops the movement (or action) so that there are no blurs or sweeping movements in your picture. A slow shutter speed will show the action resulting in blurry images.

Your shutter speed controls how much light is allowed to hit the camera sensor based on how long the sensor is exposed to light.
If your pictures are coming out too dark, use a longer shutter speed to let in more light.
But be careful, if you use a shutter speed that is too slow, your own movement can create a blurring effect.
At that point, you may want to consider using a tripod to ensure that your movement doesn’t cause the picture to be blurry.
Increase Your ISO
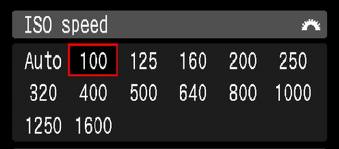
Your ISO setting gives you a quick and easy way to allow your camera sensor to accept more light when confronted with low light photography. Your ISO setting can also help to control the amount of noise that shows up in your pictures.
When dealing with underexposed images, you can increase your ISO.
This will allow your camera sensor to accept more light helping to reduce underexposed areas within your composition.
But be careful, increasing your ISO is a quick and easy fix for underexposed photography, but it comes at a price.
In order for the camera sensor to accept more light the sensor has to let in more static or noise. Most DSLR’s do a good job of controlling noise with higher ISO settings.
This has been a major area of improvement in digital cameras over the years. And while it may not ever become a problem for you, you should know that higher ISO settings create more noise than lower ISO settings.
A Few More Tips
- Use an external flash or your
camera’s internal flash to help expose your underexposed pictures. Even is direct sunlight using a flash can help reduce dark shadows. This is known as fill flash.
- Shooting in the Raw file format
will give you more latitude in editing. Learn more about the JPEG
vs. Raw conversation.
- Don’t expect miracles. If it is
dark, like middle of the night dark with no lights around anywhere,
it may just mean that it is too dark to take pictures. Know when to
say when.
- Understand your camera and lenses
so that you know what they are capable of. This means practice and
practice means making mistakes in an acceptable manner.
Photographer, know thy tools.
- Try bracketing your pictures. With this multi-exposure photography technique you take multiple exposures of the same picture ensuring a broader dynamic range of light and color in your pictures. Bracketing photos produces HDR photographs.

The picture above shows how bracketing and HDR photography work.
The top picture on the left is underexposed, the middle picture is ideally exposed for the scene and the picture on the top right is overexposed. I combined all three pictures using Photomatix.
The result is the picture on the bottom. The picture was taken with a Canon 60D and a Canon EF 15-85mm f/3.5-5.6 IS USM lens.
Final Tip | Shoot In Manual Mode
Finally, this is probably the most important tip of all.
Don’t’ shoot in Auto Mode. While this can, at times, be a great photography technique to employ, you are going to get pictures more in line with what you want to see if you shoot in manual.
You are smarter than your camera. Knowing how to control your camera settings is half the fun of photography.
Knowing your way around your settings will also save your butt when Auto has no idea what you are trying to show with your picture.
Exposure techniques
Here's a smart video from Bryan Peterson that helps to explain proper exposure techniques based on what you are trying to create with your picture.
More from picture power


Recommended for you
Capturing Joy and Play: The Transformative Power of Positive Stories
Telling stories and capturing images that center around these elements is not merely an aesthetic choice; it is a conscious effort to shape a world of value.
10 Engaging Photo Assignments From The Farm
A farm setting, with its rich tapestry of sights, sounds, and textures, presents an ideal backdrop for immersive and captivating photo assignments.
8 Ways to Use Photography in Your Science Curriculum
Incorporating photography into your science curriculum expands students' horizons, transforming abstract scientific concepts into tangible experiences


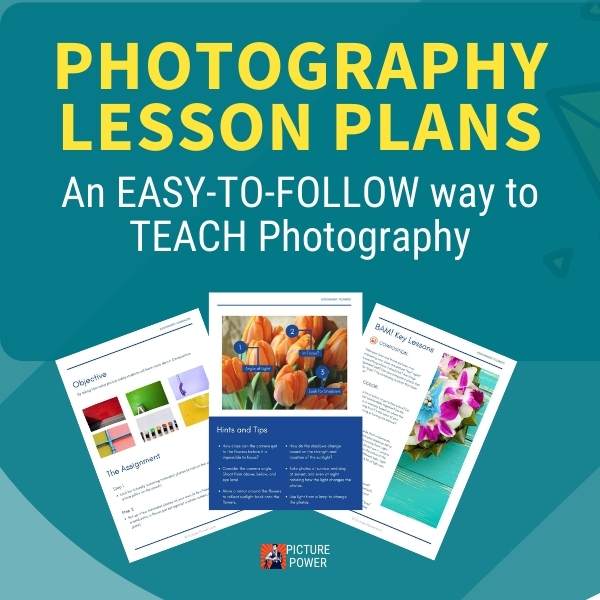
photography lesson plans pack


Search
Picture Power