Food Photography Tips
Mmmmm, Now That's A Tasty Picture
By Scott Umstattd

Photo credit: Andreas Krappweis
Food Photography Tips: Eating food is easy.
Creating mouth watering, delicious looking pictures of food is quite a bit harder. Forget about simply holding your camera over your food and expecting the best.
You will need to give your food pictures the same love and care you give in its preparation. And that is the key word - preparation. Incredible food pictures don't just happen.
If you enjoy learning by watching, I've also collected 7 food photography tips videos (some very detailed, others more to the point) that demonstrate everything you need to consider and do to become a gourmet photographer.
Food Photography Tips: Focusing
Make sure you are focused on the right parts of your food. If you are shooting close up pictures and especially if you are shooting with a macro lens you will need to pay close attention to your depth of field.

As you move in closer and closer to your subject your depth of field gets thinner and thinner making it harder to achieve focus from foreground to background. You can use this to your advantage especially if you are shooting with a lens that has a wide aperture like f/2.8 or lower.
Lenses with wide apertures often produce some of the best bokeh. It is when you shoot at wide apertures (f/2.8 or lower) that you get that beautiful background blur, which is what bokeh is.
Pay close attention to where you are actually focused. If your focus is off, the message of your picture is off as well.
Food Photography Tips: Lighting

All photography tips involve a mention of light because without light there is no photography.
Look for light that is coming from behind your food or place your food so that light is coming from behind to find unique highlights of your food. This is especially useful if steam is rising off your food. Backlighting will capture the steam and add a dynamic appeal to your food.
Use soft light (diffused light) to create soft shadows. You can bounce light (reflected light) to help create softer lighting.
Avoid using your camera’s flash. And avoid pointing any light source directly at your food unless you diffuse it. Harsh, direct light does not typically make food look very appealing.
If you use an external flash, point the flash away from your food and let it bounce off the walls or ceiling to allow the light to diffuse. This will also allow your light to come from the side and that will prevent flat looking pictures.
If you are shooting outside try shooting in the early morning or evening hours when the sun is closer to the horizon. This will help to create soft shadows. Harsh (or hard) shadows can make the picture confusing to see because the dark and hard lines of the shadows can draw attention away from your subject.
If you are shooting inside avoid using the lights coming from above (like ceiling lights). Place your food near a window to get a diffused light source that will create softer shadows.

Photo Credit: Cozgrl05
A quick note: I mentioned "diffused" and "diffused light". Diffused light is simply light that is broken up. You can diffuse light by placing a sheer object (like a thin satin sheet) between the light source and your subject. You can also "break up" light by bouncing it off of non reflective surfaces.
Bouncing light off a mirror, for example, will not diffuse the light. Bouncing light off a painted, non-glossy surface will diffuse your light creating softer shadows and allow the light to wrap itself around your subject.
In the photo above hard light was used and that created shadows with hard lines. In this case, it worked because the background was clean and neat and that allowed the shadows to fall in an area that did not add any confusion.
As is the case with every rule ever written by man, there are exceptions and every rule can be broken. Some better executed than others.
Food Photography Tips: Composition
Through composition, a story is told.
Don’t place your food in the center of your frame unless it makes sense for a particular situation such as the photo below. Use the rule of thirds to create a balanced composition. You can move your camera to get better composition and you can move your food as well.

Photo credit: Liz West
Move your food around until you get a nice balance of color and lines. For example, if you are taking pictures of a plate of steak, potatoes and asparagus line your asparagus in parallel lines. Avoid having them criss-cross in a plate of randomness.
When restaurants and food companies takes pictures of their food, a lot, I mean A LOT, of attention is paid to food placement. Believe it or not, we begin eating with our eyes, not our mouth.
Food Photography Tips: Plates and Utensils

Maybe this goes without saying but I'm going to say it anyway...make sure your plates and utensils are clean.
If you have to, wipe away any drippings of food or sauces from the sides of your bowl or plate. This is as important as food placement and organization.
If you have smudges of sauce around the edge of your plate or bowl your viewer's eyes will immediately go toward that and it will create an unappetizing appearance to your picture.
Treat your food, your plates and your knives, forks and spoons like supermodels. If there are any imperfections they will ruin your shot.
Food Photography Tips: Colors
Make sure you have a lot of color in your food pictures. I will repeat this again: we begin eating with our eyes, not our mouth.
How we see food has a direct impact on how much we like the food. Not to discount our taste buds, but before we taste, we see.
Food Photography Tips: Background/Atmosphere

Your background gives your food a place to live. Clean the area around your food and look for angles that allow your viewers to see the wine glasses or other foods in your food photography setting.
If you really want to get into the settings for your food (to give it a beautiful atmosphere) don't use the same cutting board you used to prepare your food.
Place your food on a clean cutting board or in a clean skillet. Remember that anything that doesn't look appetizing or appealing to our eyes will distract from our desire to dive in and eat the food that you are photographing.
If you are taking a picture of a juicy, delicious steak pour a glass of red wine and place that in the background to give your viewers the full experience of the delicious, mouth watering steak. Mmmmmm, steak.
Your choice of colors in your background will also have a direct impact on your food photography. Look for or create background colors that compliment the colors of your food. It may be as simple as adding a red or orange table cloth to accentuate the red colors in your food.
Quick Tips!
Food Photography Tips, Tricks & Techniques
- Dried food and bland colored food looses its eye appeal immediately. To give your food a little more life, spray some olive oil or cooking spray on your food to give it a little shimmer and sheen. This will also help to bring out the beautiful colors in your food.
- When making soups and stews take your pictures right after you add them to the pot. This is when they have their freshest appeal. As your items cook they will begin to lose color. Keep things as colorful as possible.
- Set your white balance to a warmer setting. This will give your food more appeal. If you are shooting with a cooler white balance color your food pictures may look like were taken at the grocery store. This is another good reason to take your pictures at sunset or sunrise hours. The light during this time of day is naturally warmer. You can also diffuse or bounce light with warmer colored reflectors or with warm colored window shades/drapes.

- Place uncooked food around your cooked and prepared food to let your viewers know everything that went in it. Especially with soups and stews things tend to get pretty mushy and mushy isn't pretty. Having the raw ingredients around as part of your background and overall setting give bland looking meals more appeal. This is an excellent way to add an additional story element to your food photography.
- Take your food pictures before the food is done cooking. This is especially true for steaks (what is it with me and steaks today?). Take your food off the fire/skillet and take a quick picture while it is still mouth watering and juicy. Dried steak, no matter how delicious, isn't as appealing as steak glistening with tasty fat. And remember, try to find light coming from behind, this light will capture the steam coming off your meat.
- This next food photography tip can be true for all photography. Find examples of food pictures that you like and try to replicate what you see. Notice where the light is coming from by seeing which direction the shadows are cast. Notice how the food is arranged and try to mimic that arrangement in your pictures.
- Finally, practice practice practice. A cook gets better with each meal created. A photographer gets better with each picture taken. Make mistakes and learn lessons.
Food Photography Tips: Lenses
Your lenses are your babies and you should treat them as such. Give them naps in the afternoon and put them to bed early.
Since you have almost total control over your food, your background and your lighting, I am going to recommend that you use prime lenses to get the most snap, crackle and pop out of your food photography.
A prime lens will provide you with a wider aperture. This will do two things that are helpful in food photography. Prime lenses provide some of the best bokeh (background blur). And prime lenses will allow you to shoot in low light situations giving you more opportunities to capture great shots even when there is not a lot of light.

There are a lot of prime lenses to choose from but you don't have to break your budget to get your hands on some excellent lenses. The Canon 50mm f/1.8 and the Canon 85mm f/1.8 are both affordable and will let you stand an appropriate distance from your food.
The Canon EF 200mm f/2.8L USM lens is another excellent choice for food photography. This lens, with its 200mm focal length and f/2.8 aperture, will easily allow you to blur the background ensuring that your viewers see the most important elements of your preparation.
You can also turn any lens into a macro lens by adding an extension tube. Extension tubes are placed in between your lens and your camera. This moves the lens away from your camera's sensor and will magnify your image onto your camera's sensor.
A great little extension tube is the Canon EF 12 extension tube. By adding an extension tube you can get in real tight and show the details of your food. A cheaper, yet still effective extension tube is the Fotodiox extension tube set. This comes with three extension tubes that provide varying degrees of macro-photobility.
WATCH THIS VIDEO - Food Photography Tips
If you think the pros simply place food on a table and shoot, think again. This short video from Power House Photo gives you a brief glimpse into what it takes to pull off truly amazing food photography.
Notice the camera being used. It's unlikely that you are using the same kind of gear, but don't let that intimidate you. Instead, pay attention to how much preparation goes into every single detail of their food photography. Notice how they bounce and reflect light. And pay particular attention to how much consideration they give to food placement and composition.
After The Shoot
Food photography is one of my favorite types of photography. Unlike any other kind of photography when the shoot is done, after the last picture is taken, you get to eat your subject! Bon appetit!
More from picture power


You might like these
7 Low Light Digital Photography Tips
The test of a good photographer is not how well they shoot in good light, but how they handle a low-light situation. Here are some basic tips on shooting low light digital photography.
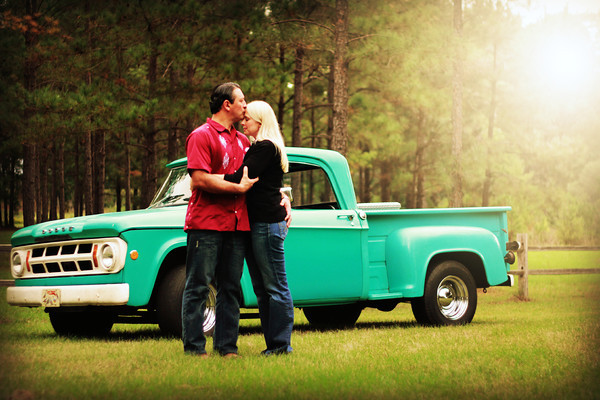
Engagement Photo Ideas For Wedding Photographers And Couples
Whether you use props, matching outfits or a unique setting, get inspired with these engagement photo ideas.
Fun Photography Ideas | Tips for photographing toys and memorabilia
These fun photography ideas can turn a boring day into a day of adventure. Give your toys the attention they deserve and learn how to think like a cinematographer.


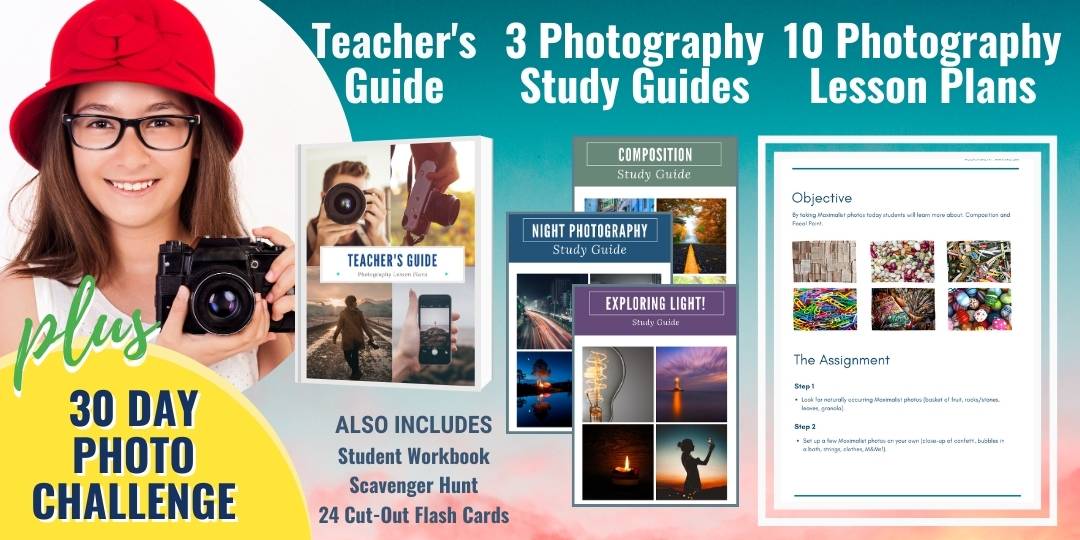
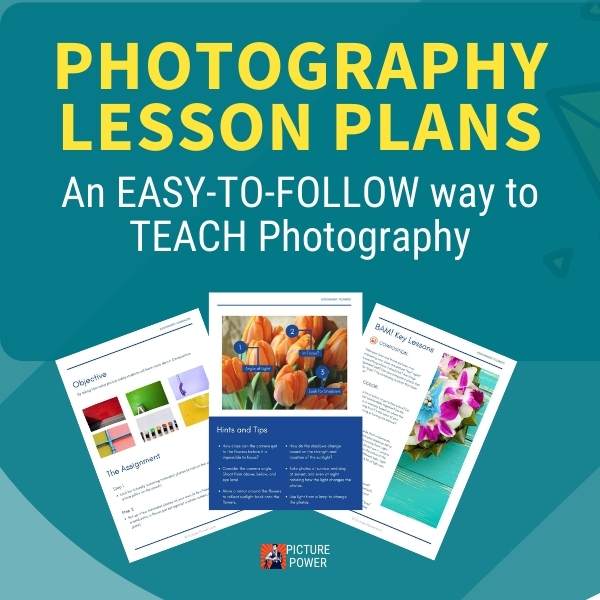
photography lesson plans pack
Return Home from Food Photography Tips


Search
Picture Power