Picture Power Quick Shots
understanding the exposure triangle

Photography is an art form that hinges on the delicate balance of three main elements: ISO, shutter speed, and aperture.
These components collectively determine the exposure of a photograph, influencing its brightness, clarity, and overall aesthetic.
To better understand how these elements interact, we can use analogies that simplify their roles.
iso sensitivity to light

ISO controls the camera sensor's sensitivity to light. Imagine ISO as a worker adjusting the brightness of a digital screen.
A low ISO (like ISO 100) means the screen is set to a lower brightness, suitable for well-lit environments to prevent overexposure.
Conversely, a high ISO (like ISO 3200) cranks up the brightness, useful in dim lighting conditions but at the cost of increased noise or graininess in the image.
Shutter speed: capturing movement

Shutter speed dictates how long the camera’s sensor is exposed to light.
Think of it as a gate that opens and closes. A fast shutter speed (1/1000th of a second) is like a swiftly closing gate, letting in a quick burst of light—ideal for freezing fast action, such as a bird in flight.
A slow shutter speed (1 second) is akin to a leisurely closing gate, allowing more light to flood in, perfect for capturing motion blur, like the smooth flow of a waterfall.
Aperture: controlling Light's entry

Aperture is the opening in a lens through which light enters the camera, similar to the pupil in the human eye.
A wide aperture (f/2.8) is like a dilated pupil in a dark room, letting in more light and creating a shallow depth of field, which means only a small portion of the image is in sharp focus.
A narrow aperture (f/16) resembles a constricted pupil in bright sunlight, letting in less light and providing a deep depth of field, keeping more of the scene in focus.
The Window analogy

Imagine a room with a window (aperture), curtains (shutter speed), and a dimmer switch (ISO). The size of the window controls how much light enters the room (large window = wide aperture, small window = narrow aperture).
The curtains control how long the light enters (open briefly = fast shutter speed, open longer = slow shutter speed).
The dimmer switch controls the sensitivity to the incoming light (low sensitivity = low ISO, high sensitivity = high ISO).
Balancing these three allows you to control the brightness and clarity of the room's light.
Balancing the Exposure triangle

Balancing ISO, shutter speed, and aperture is essential for achieving the desired exposure. Increasing one element requires adjusting the others to maintain balance. For instance, if you open the aperture wider, you may need a faster shutter speed or a lower ISO to avoid overexposure.
Understanding this interplay allows photographers to make informed decisions based on lighting conditions, subject movement, and the desired depth of field..
Mastering the exposure triangle empowers photographers to move beyond automatic settings, offering creative control to capture stunning images in diverse scenarios.
By visualizing these analogies, photographers can intuitively grasp how ISO, shutter speed, and aperture work together to shape the final photograph.
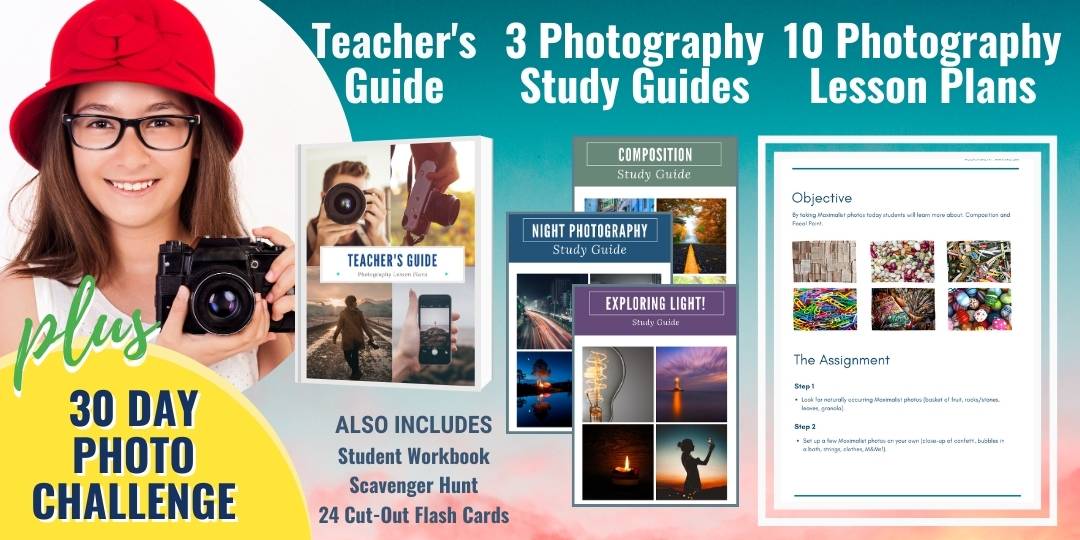
Photography lesson plans pack (Printables)

Jump right into teaching photography with our exclusive Photography Lesson Plans pack.
Includes:
- 10 Photography Lesson Plans
- 1 Teacher's Guide
- 3 Photography Study Guides
- 30-Day Photography Challenge
- 1 Student Workbook
- 24 Cut-Out Photo Flash Cards
- 1 Photo Scavenger Hunt
More from picture power


RECOMMENDED FOR YOU
7 Low Light Digital Photography Tips
The test of a good photographer is not how well they shoot in good light, but how they handle a low-light situation. Here are some basic tips on shooting low light digital photography.
Engagement Photo Ideas For Wedding Photographers And Couples
Whether you use props, matching outfits or a unique setting, get inspired with these engagement photo ideas.
Fun Photography Ideas | Tips for photographing toys and memorabilia
These fun photography ideas can turn a boring day into a day of adventure. Give your toys the attention they deserve and learn how to think like a cinematographer.


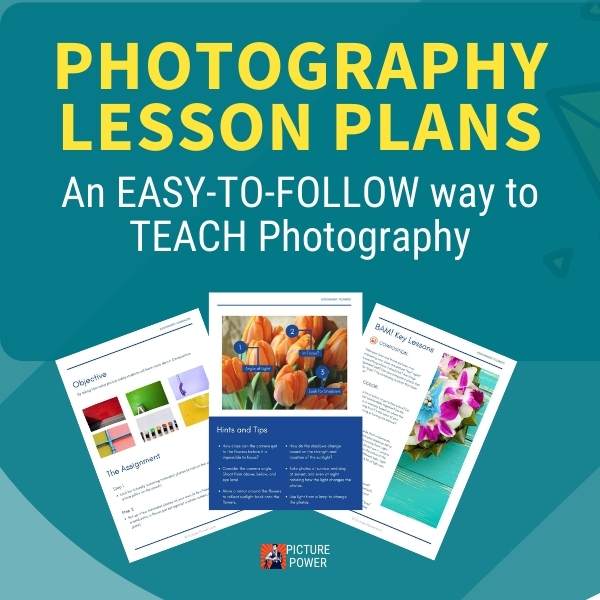
A COMPLETE PHOTOGRAPHY TEACHING KIT


Search
Picture Power