7 Low Light Digital Photography Tips
(How To Fight the Evils of Darkness)
By Scott Umstattd
If superheroes were photographers, they would be specifically called upon for low light digital photography: an area of photography where mere mortals with tiny-censored cameras and light hating lenses cannot match the evils of darkness.
To overcome the evils that darkness plays on your pictures you need to have the right equipment in your photography tool belt.
|
Any working camera will take decent pictures on a bright, sunny, daylight kind of day. But it takes a special kind of camera and a special kind of lens to capture the real world when light, your camera’s best friend, is not around to help. Low light digital photography pushes your photography gear and you to maximum limits. |
Quick Tips:
How To Shoot Better in Low Light
7 Low Light Digital Photography Tips
1. Shoot In Manual Mode
Your camera can make pretty good exposure decisions on its own. But when it is struggling to find light, your camera may return some results that don’t resemble what you are looking for or what you are looking at.
In low light photography situations you must employ your skills as a photographer because it is most likely that your camera will fail to grasp what is going on in front of it.
Understanding how to increase your ISO, open your aperture and how to control your shutter speed will give you a tremendous advantage when shooting low light digital photography.
2. Increase Your ISO
Many can and will argue that using an ISO setting as high as 6400 (if your camera can go that high) is simply too high to create great photographs. As of this article (May 2013/(updated January 2014) most new DSLR cameras can go up to and beyond ISO 6400.
ISO UPDATE 2017 - Sensors on full frame cameras can now easily handle ISO levels as high as 12,000. Read my review on the entry-level, full frame Canon 6D. This camera is affordable (under $1K US used) and shows the power and potential of camera sensors to come.
Your ISO setting controls how much light your camera's sensor will use. A higher ISO allows for more light to be used by the sensor. But this easy fix can come at a price. As you increase your ISO you increase the amount of noise in your pictures.
If you have to take your ISO up to its highest setting to get the shot then that is what you have to do. Low light digital photography forces you to find light from any and all sources and increasing your ISO is a quick and easy way to make the most of just a little light. Plus, the noise can be addressed and often easily removed in editing if you are using Lightroom.
3. Open Up Your Aperture
Whereas increasing your ISO allows more light to be used by the camera sensor, opening your aperture (lowering your f/stop) allows more light to come through your lens to give to the sensor.
Kit lenses usually have very attractive zoom ranges but come with an f/3.5 for a wide aperture. Kit lenses may work fine in well lit situations but kit lenses are not the best choice for low light digital photography.
If you’ve ever spent time shopping for lenses online you’ve noticed how pricey some lenses are. One of the biggest advantages these pricier lenses offer is performance in low light.
A lens earns its medals when it performs in less than ideal circumstances. The kind of circumstances we all face in the real world. Especially those photographers in the documentary and fashion fields.
Help your low light photography by using a lens with a wide aperture of f/2.8 or lower (like f/1.8 or f/1.4).
4. Use a slower shutter speed
Even with the most expensive camera and lens there will come a time and a place where you will ask the camera to do more than it is capable of doing. And in that same instant you may be asking more from yourself than you are capable of doing.
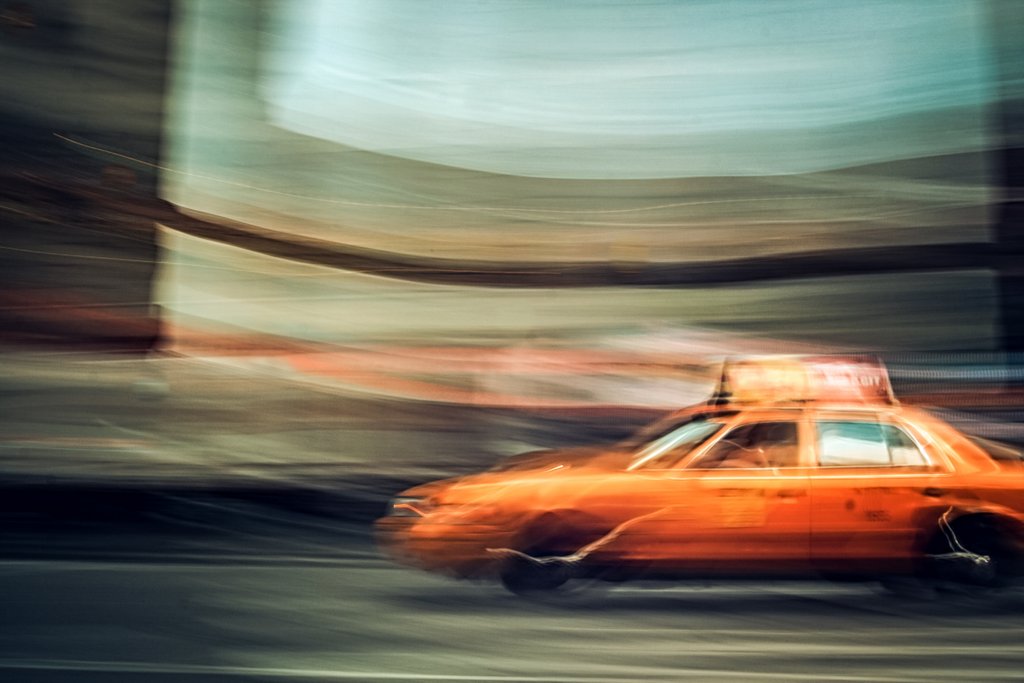
Using a slower shutter speed will give you more light. But there is a trade off here. If your camera or your subject is moving you will get blurry (out of focus) pictures.
With a slow shutter speed your movements, however small, can ruin your picture. Your goal is to keep the camera as steady as possible.
If you are without a tripod look for a wall, a car, a chair - something - that you can use to brace yourself. In low light digital photography situations the photographer is put to test as much as the camera is.
One trick that can make your life easier is to simply calm down. Find your inner Buddha guy and be still. Breath slowly. Focus. Now try taking the picture.
5. Lay The Camera Down
When you just can’t keep still and the tripod is packed away, take the camera out of your hands and lay it on a table or on the floor on in a chair.
Get the camera out of your caffeinated claws and let gravity work for you. Things like floors don’t move, generally. Use tables, chairs, mantles, car hoods, stairs and step ladders to help you find focus for your low light pictures.
Just be careful when pressing the shutter. Pushing it in may cause the camera to move. Try using the timer delay on your camera. This way you and your shakes can distance yourself from the camera as it counts down. Another option here is to use a remote trigger. This will allow you to press a button that is not on the camera to take the picture. Remotely.
6. Use A Tripod
Even Superman drinks too much coffee some mornings.
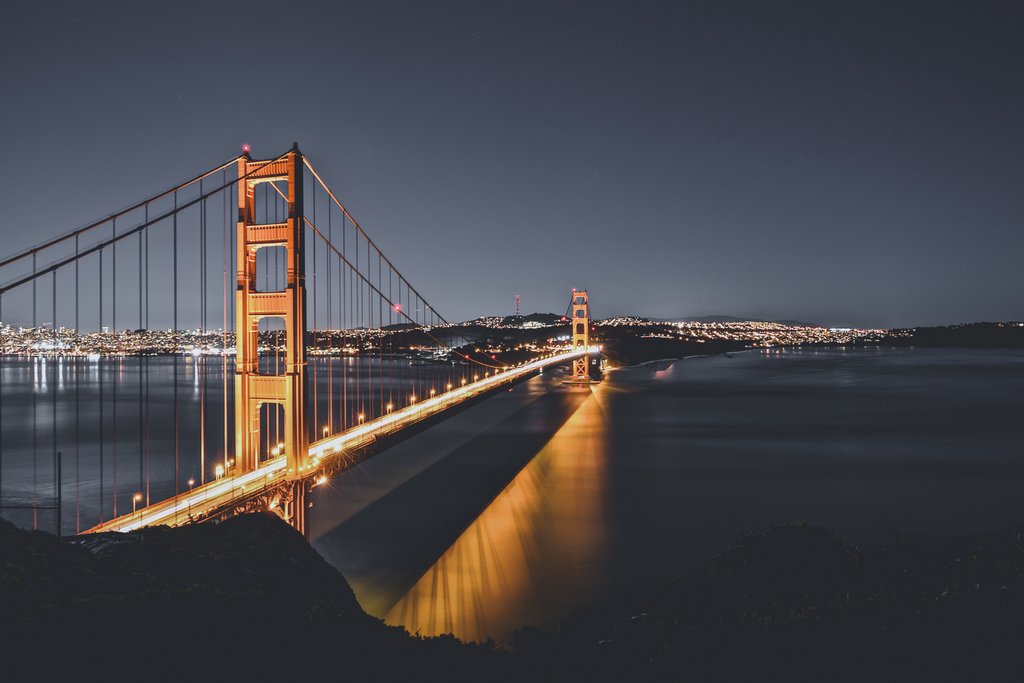
None of our inner Buddha guys can calm us down enough to hand hold a 10 sec long shutter speed. At some point we are all going to bow before the almighty tripod because there is not one among us who can do what it can do for the length of time it can do it.
But a tripod only really works when your subject is stationary. Like a mountain. Or a bowl of fruit.
Using a tripod to take a picture of your kids running around the Christmas tree will keep the tree in focus, but the tripod cannot keep your kids from moving and therefore your kids will not be in focus.
7. Use A Wide Angle Lens
Since much of low light digital photography is about trying to use the slowest shutter speed, take the additional step and use a wide angle lens when working in low light situations.
The wider the lens the more you and your inner Buddha guy can actually get something done (without a tripod). When you zoom into an image your body movement is exaggerated in the picture. A wide angle lens, however, works in your favor.
With a wide angle lens your body movements are more easily disguised which gives you the ability to use a slower shutter speed.
To Wrap It Up...
I get a lot of enjoyment out of low light digital photography. Anyone is capable of taking a great picture in ideal lighting situations, but a great skill to test is working without a net (so to speak) using only natural light in low light situations.
When it's just the photographer and his camera. Two buddies working together to save as much light as possible before the evils of darkness prevail.
I really try to avoid using any kind of flash. This is why I didn't offer another simple piece of low light photography advice: use a flash. ISO performance will continue to improve which, for me, gives me even more latitude and reason not to pack an external flash.
If you are using a Canon camera, you can install Magic Lantern. This hack offers several ways to get more light.
Read more about Magic Lantern for filmmaking on my guest blog post at Desktop Documentaries.
Watch Video: Low Light Digital Photography
Thanks to BananaManaTV for this quick low light digital photography lesson.
