"How do I teach my child photography?"
By Scott Umstattd
If you're asking yourself: "how do I teach my child photography?" you've come to the right place!
Many parents are finding themselves in a position where they have to fill in the gaps of their children's education. Or, in many cases, create their own homeschool curriculum specifically tailored for their children.
Photos and pictures will always play a critical role in how children interpret the world as a whole and how they process and share their daily lives and surroundings.
Knowing how to create a consistent look and how to work within restrictions are visual communication skills every child needs to understand.
Photography offers an easy way to improve both of these creative skills.
here are 5 easy steps to begin teaching photography to your children:
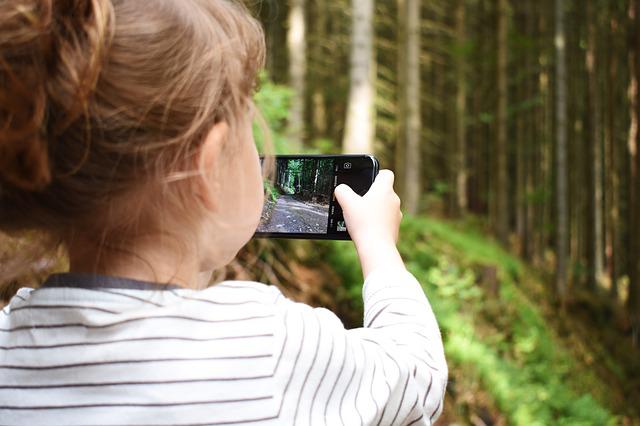
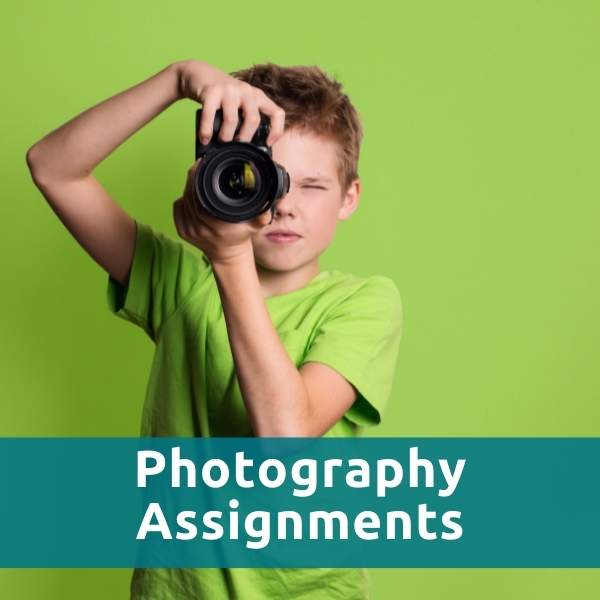
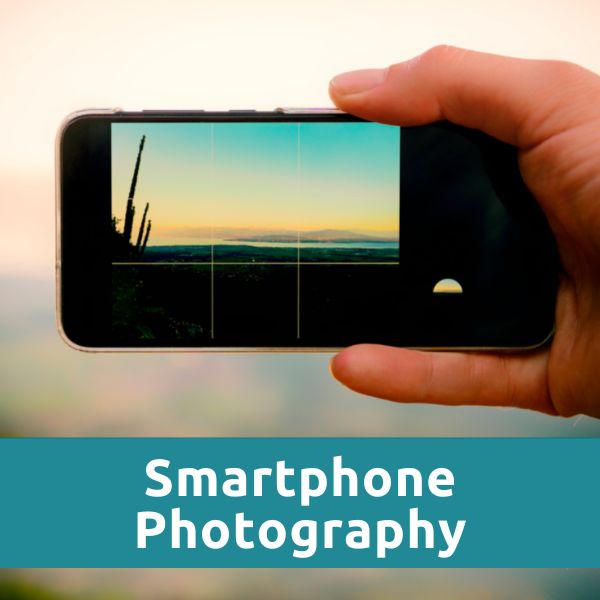
Step #1 : start with a smartphone
Start with what you have... a smartphone!
You are teaching your children photography with a tool they are already using.
Smartphones have amazing photo and video quality. My students have no problem taking hundreds of pictures during our two hour photo classes.
Additionally, smartphones give you (the teacher) an easy, familiar, and fun way for your children (the students) to interact with something they already have an interest in.
STEP #2: Teach the basics of light
The first lesson you'll want to teach is:
Where the light is coming from and how much light is there?
Light coming through a window is quite different than direct sunlight.
What about a flashlight?
Have your child experiment taking photos with different sources of light (sunlight, flashlight, moonlight, etc) and have them share their observations with you.
To teach about lighting, make sure to learn the difference between an overexposed photo and an underexposed photo.
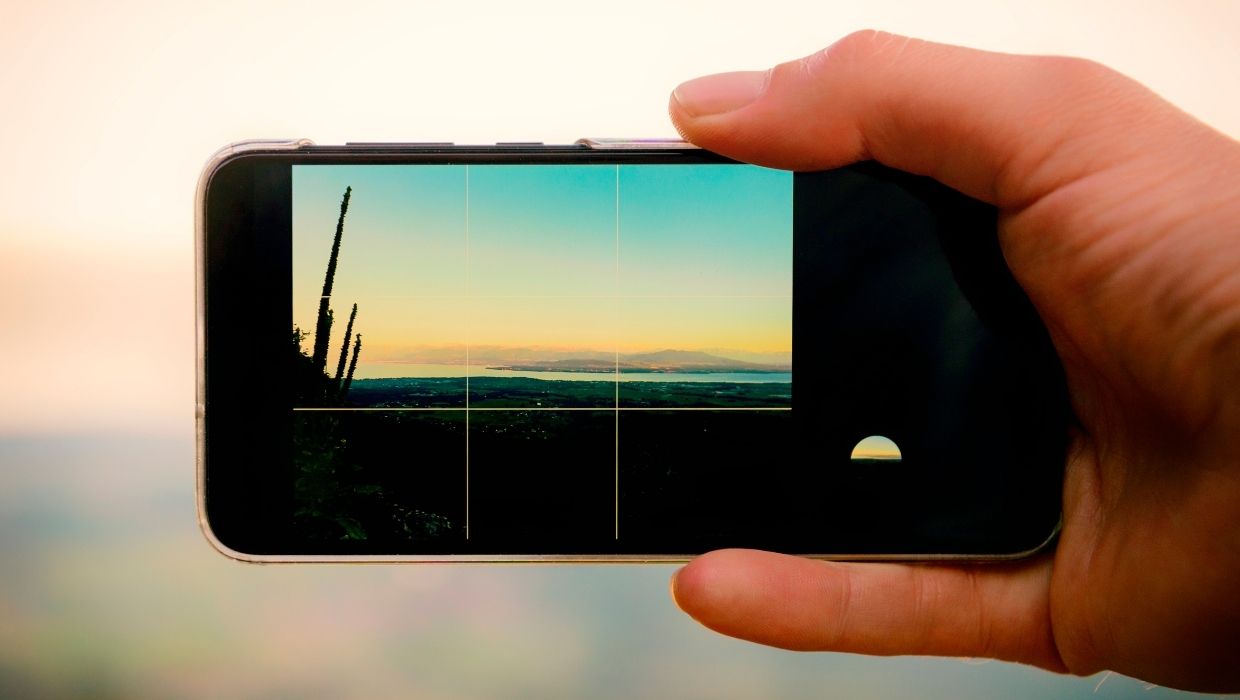
step #3: Teach the basics of composition

The second biggest lesson in photography that you'll want to teach is:
What is the camera's location and what angle is it directed.
Many times photographers can have more control over camera placement, or composition, rather than control over light.
Deciding where to place the camera is how a photographer begins to control the photo's composition.
Camera placement and composition are part of every photo, therefore the decision of where to place the camera is a huge first lesson for a new beginner photographer.
step #4: teach low light photography

Taking photos in low light is one of the most challenging (and fascinating) aspects of photography.
Needless to say there are BOOKS written on this topic alone.
One of the easiest ways to take great photos in low light is to keep the camera VERY still. Put the camera on a tripod or lean it against a wall when taking the photo.
Here are 7 low light photography tips to help you better understand the challenges and the values of low light photography.
STEP #5: USE FIGURINES FOR PRACTICE
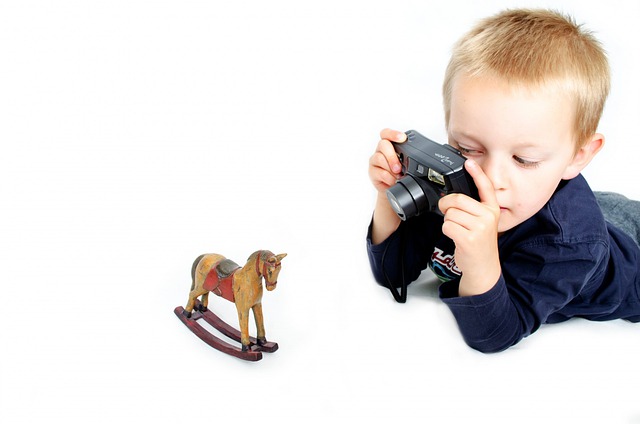
Using small objects, toys and figures can be a great way to teach photography to kids!
Photographing a treasured toy is a powerful way to bring a child's imagination to life.
A toy also serves as a great subject to study light.
After taking pictures of the same toy in different light your students will understand that a simple change in the light's positioning can make the toy look happy or sad.
Here's some fun photography ideas for kids for when they are taking photos of their toys.
"Play is the highest form of research"
- ALBERT EINSTEIN
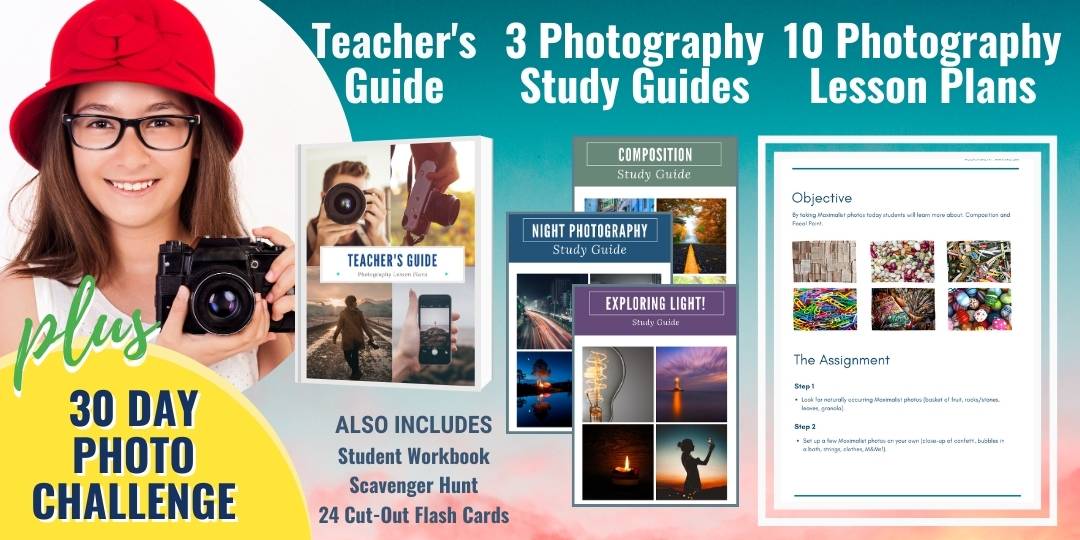
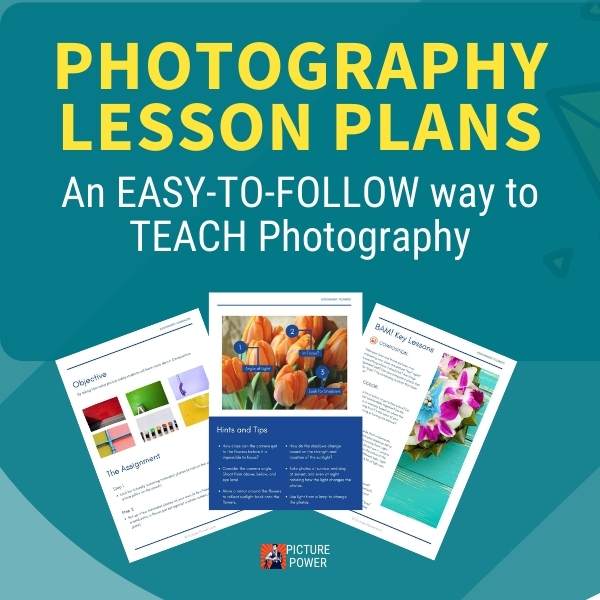
Photography lesson plans pack (Printables)

Jump right into teaching photography with our exclusive Photography Lesson Plans pack.
Includes:
- 10 Photography Lesson Plans
- 1 Teacher's Guide
- 3 Photography Study Guides
- 30-Day Photography Challenge
- 1 Student Workbook
- 24 Cut-Out Photo Flash Cards
- 1 Photo Scavenger Hunt
More from picture power

RECOMMENDED FOR YOU
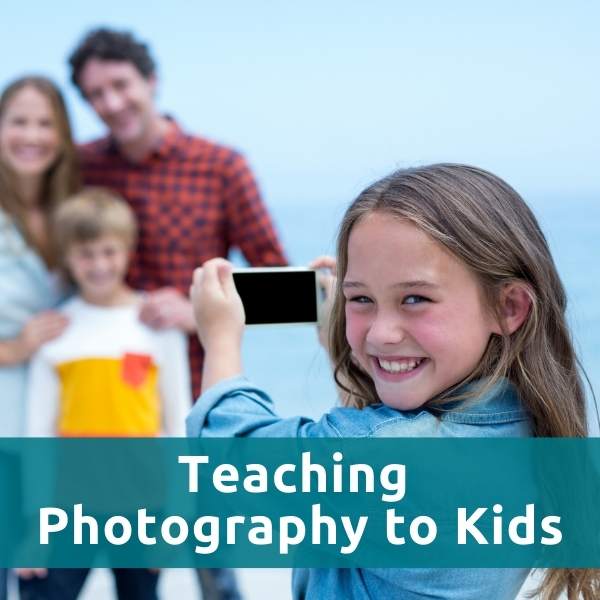
Teaching Photography to Kids
Teaching photography to kids is not that hard. To teach photography to kids you only need to know a little bit about two things. Light and composition.
A COMPLETE PHOTOGRAPHY TEACHING KIT


Search
Picture Power