How to blur the background for portraits
A Picture Power reader recently asked how to create professional looking background blur when taking portraits and what lens is best (and cheapest) for doing this.
QUESTION - I'm an amateur beginner and I have a Canon T5i and I have the portrait lens the Canon 50mm. I want to get more professional looking shots of full body with the background being blurred quite a lot. What lens would be the cheapest to achieve this? Also, I know there are Sigma and other brands of lenses and I'm willing to buy those if they are cheaper, it doesn't have to be the Canon lenses in particular. Please help! Thank you
PICTURE POWER ANSWER
Thanks for your email!
You said you have the Canon 50mm portrait lens, I am going to assume that you have the Canon 50mm f/1.8 lens (which costs around $100). This is a great little lens that I have had for years. It's not as durable as the Canon 50mm f/1.4 of Canon 50mm f/1.2. But these other two lenses are expensive. The Canon 50mm f/1.8 is an excellent lens to get started with. Nikon users may want to use the Nikon 50mm f/1.8 which is also around $100. Sigma and other third party lens makers have similar options. The Sigma and the Tokina and the Tamron
The prime lens you have now will work just fine. Since you cannot zoom in and out with this lens you will need to walk closer to or farther away from your model to get their whole body in the shot or to get just their head and shoulders.
Once you have composed the shot you want, be sure to have your Aperture setting to f/1.8 (the lowest setting). This will do two things.
One, it will let in more light by opening the hole in the lens more. This hole is more like a tunnel. The aperture setting controls how much light comes through the lens (and onto the camera sensor) by opening or closing the diameter of the opening.
Think of it like water tunnels that expand or contract to let more or less water through). A wide aperture (low f/stop number) creates a bigger tunnel that more light can come through. A narrow aperture (higher f/stop number) makes the tunnel more narrow and thus limits the amount of light that comes through the lens.
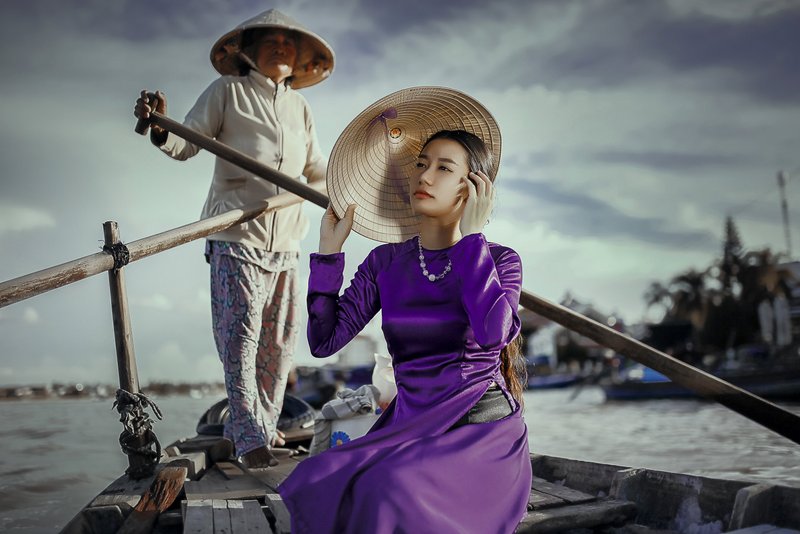
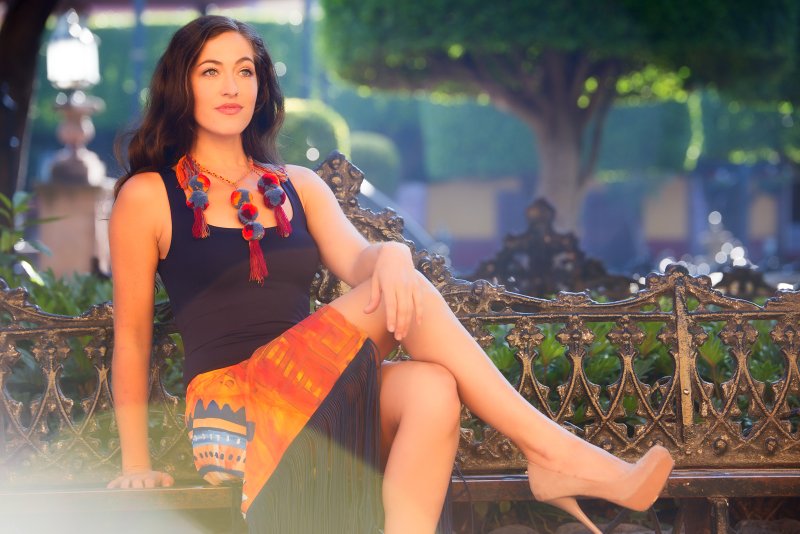
The other thing setting your aperture wide open will do is create a very shallow depth of field. This is what creates the blurry background. The background blur created is referred to as bokeh. Some lenses have better looking bokeh (blur) than others.
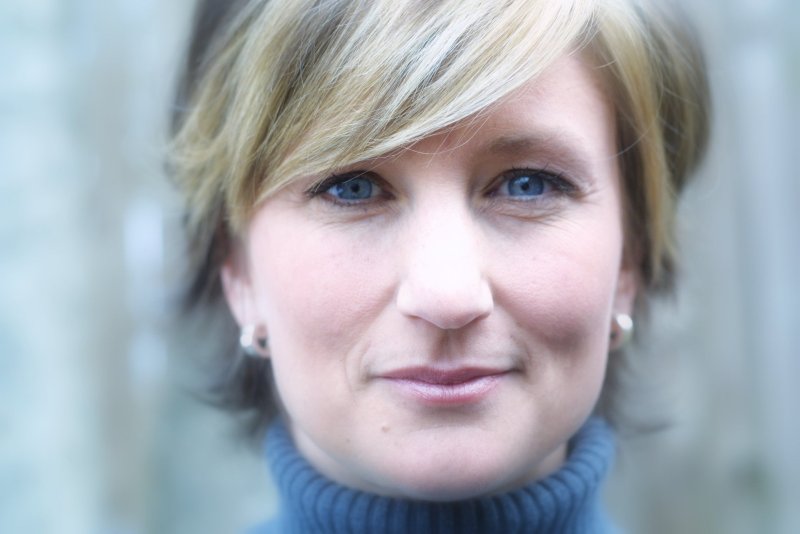
But, when you do this (set your f/stop to a low setting) you have to be very careful with your focus. With an aperture this wide (low f/stop setting) you can have the eyes in focus but the ears may be soft and out of focus. This ability to create the beautiful background blur means you have to be very precise where you place your focus. This may take some trial and error to perfect and it is a problem even the best photographers have. Always try to focus on the eyes when shooting at f/1.8 (or any aperture setting for that matter when taking portraits).
Distant background
Another way to get good background blur is to make sure that your model is not against a wall. Try to find a spot where there is nothing behind your model for 20 feet or so. The farther away the background is the better and easier it will be to create blur. This simple move (making sure that the background elements are far away from the model) is actually the first step you want to take to create a blurry background. If your model is leaning on a tree and you are shooting at f/1.8 the tree won't be blurred away - meaning the tree may be soft but it won't disappear into a blur.
Move your model away from the tree (make it tiny in the background) and you will have more blur. Having a distant background creates blur and also allows you to use a little higher f/stop (like f/2 or f/2.8) which makes it easier to get the ears and the eyes in focus.
Short Answer
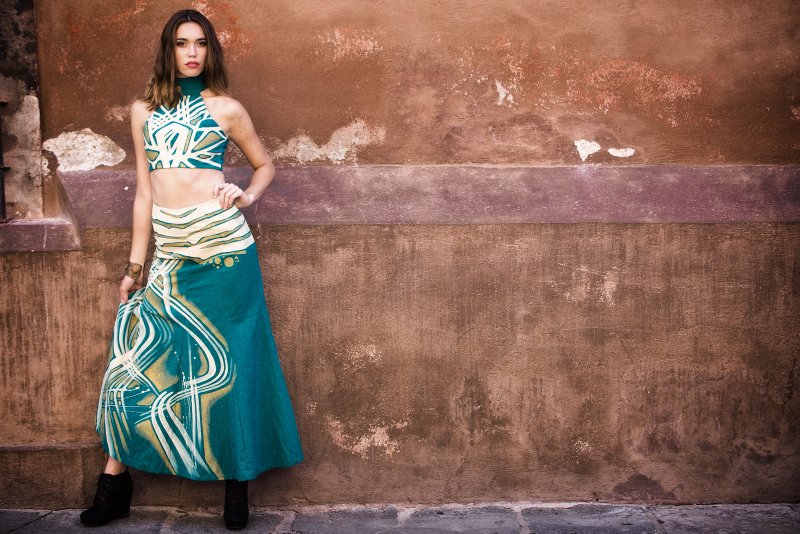
The short answer for you is that you have the lens you need - Canon 50mm f/1.8. If you want to take a full body shot simply back up until the model's whole body is in frame. Then make sure that there is nothing close behind the model in the background. Set your aperture to f/1.8 or f/2.0 or f/2.8 and make sure you nail the focus on the eyes.
Bonus Portrait Tips
When taking portraits use the lowest ISO setting you can to avoid noisy (grainy) pictures. You have a Canon T-5i. You can easily use an ISO setting of 800 and still have clean (noise free) pictures. The noise created when using a high ISO makes the picture less sharp and it takes away from the crispness of the colors.
The best time to take portraits is during the golden hours around sunrise and sunset. The sun is at an angle and it provides a more flattering light. Taking portraits at mid-day will create ugly shadows as the light from the sun is coming straight down. This makes the eyes hard to see.
Do you have any tips for getting great bokeh? Share your tips in the comment section below.









New! Comments
Let me know your thoughts about this site or what you've just read. Leave a comment in the box below.