Tools For Turning Your Photos Into Photo Books
By Andre Smith
Do you have a collection of amazing photos that you’d like to turn into something more substantial?
Photo books are a great way to display your photography if you are a photographer. Photo books are also a good way to display family pictures or vacation portraits. The best part is that you can customize your own photo book to be exactly the way you like it.
Helpful Hints To Help You Edit Your Photo Books
Before you begin to make your book, you should edit your images in order to make them as beautiful as possible. I will describe several techniques you can use in Photoshop. Most of these also work in GIMP, a free alternative.
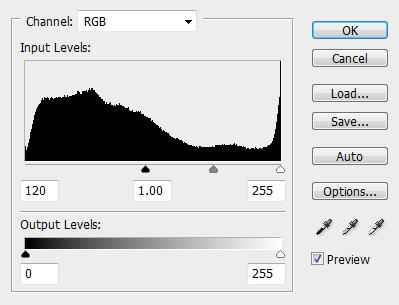
Your first step is to set the levels. Open up your image in Photoshop and press Ctrl-L. You can also find levels on the toolbar under image, then adjustments. If you select auto levels, Photoshop often does a good job. If it does not or if you’d prefer to tweak it, go ahead and move the sliders manually until you like what you see.
Depending on the image, it can also be useful to adjust the brightness. This can be done in the image dropdown under adjustments as well. If the color is off, there are several tools that can help you as well.
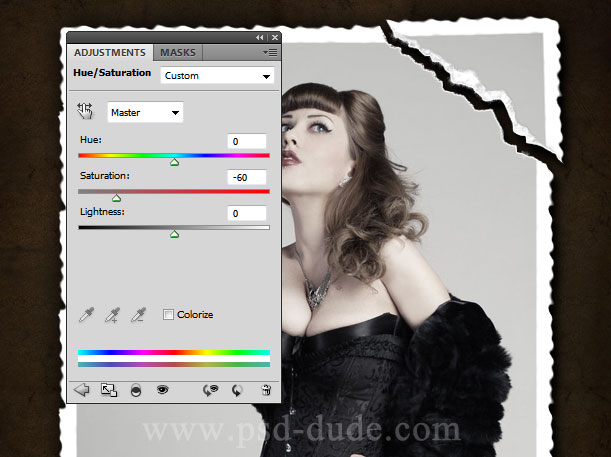
Hue/Saturation will make colors more vibrant or less vibrant. It can also change the entire color scheme of the image. For subtler changes, selective color allows you to add or remove specific hues from colors you choose. Color balance is a slider which can also be helpful.
For a black and white effect, you can either desaturate the image or choose black and white. All of this can be found under the same adjustments menu.
The final Photoshop tip I will give you before designing the book itself is to crop photos into the size and shape you would like and to make sure the image is in good resolution.
To crop the image, select the crop tool from the side bar. Then simply line up the box so that the image looks the way you’d like it to look, with all unnecessary material gone. If you want a uniform look, consider setting the crop tool to a specific size and cropping all images to that size.
Before saving the fixed image, check the image size under the image dropdown menu. For good resolution, you should save the image at 300 dpi and at a size of at least 10 inches on the smaller edge. Note that if you go too large, it will take a long time to upload images.
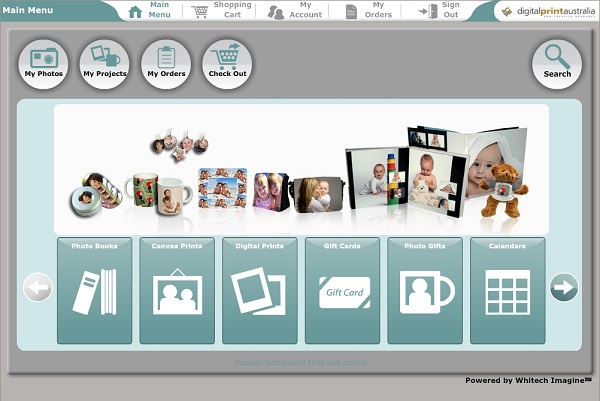
One of the tools you can use when designing your photo book is Digital Print Australia's design tool This tool allows you to be completely in control of the design of your book and provides you with a high quality product once you’re done.
Other sites such as Shutterfly, Snapfish, Photobox - even Wal Mart, offer design tools to create your photo book. Each one has a unique interface that is different than the Digital Print Australia examples below.
Making Your Photo Book
You can select a size as well as a cover type. A soft cover design is available as well as hard cover options for those likely to display the book on a coffee table or similar setting. These hard covers are covered in a quality linen and come in a variety of colors.
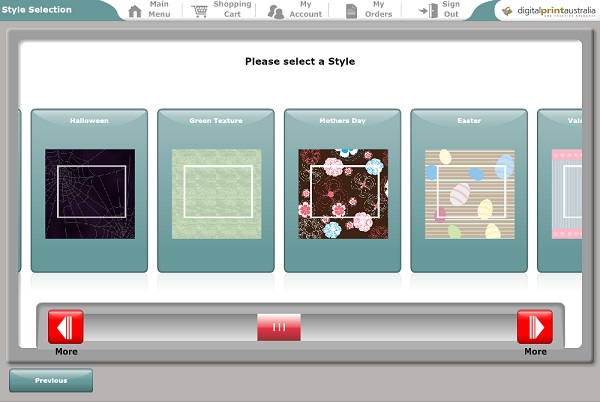
After selecting the cover, you can select the style in which you’d like to see your photos displayed. Options include traditional black and white designs as well as contemporary designs and designs for specific occasions, such as holidays or baby books. Once you’ve selected the style, you can also choose either a contemporary layout or a more whimsical layout.
The next step is to upload your pictures. Once they are uploaded, select the images you’d like to use in your book. You can choose however many or few you’d like and then adjust the number of pages in the book accordingly using the tool on the next screen after clicking continue.
If you are in
a hurry, you can allow the design tool to arrange your photos for
you. If you’d prefer to do this yourself, you can select the option
to do it manually. This will allow you to drag and drop pictures
wherever you’d like within the bounds of the page.
Once you’re
satisfied, be sure to preview your book before adding it to your
cart. After that, the process is the same as most other online
shopping venues.
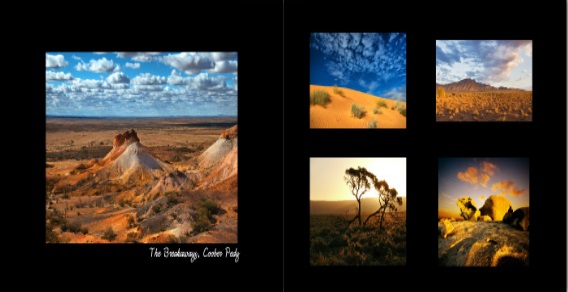
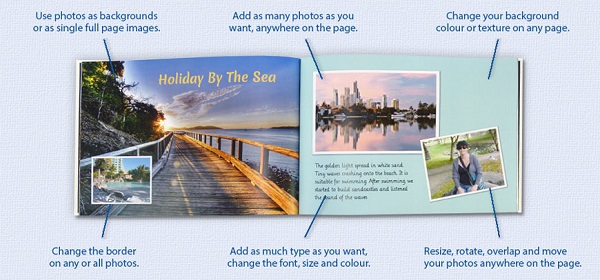
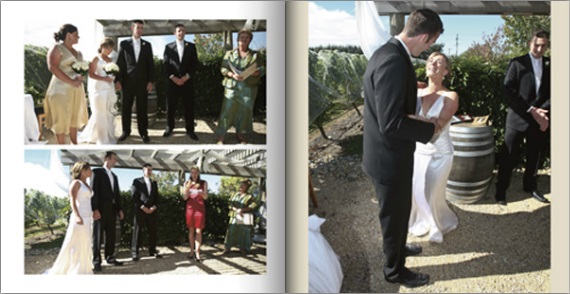
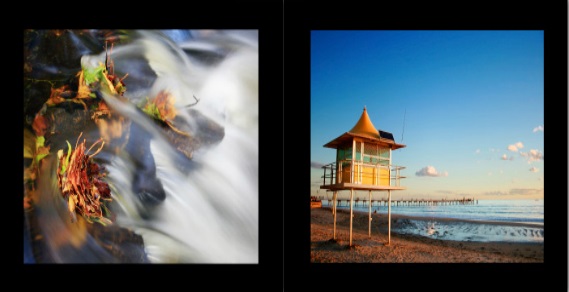
Here are some examples of finished photo book pages:

Conclusion
If you’re looking for something new for the office or as a conversation piece for the home, consider a photo book. Using a photo editing program and design tool, you can create a great, high quality photo book for your friends, family, or clients to enjoy.
All photos provided by Digital Print Australia.
About the Author
Andre Smith is a writer and amateur photographer from Brisbane. His great passion is art and he's a great admirer of Ansel Adams' work.
you might enjoy these


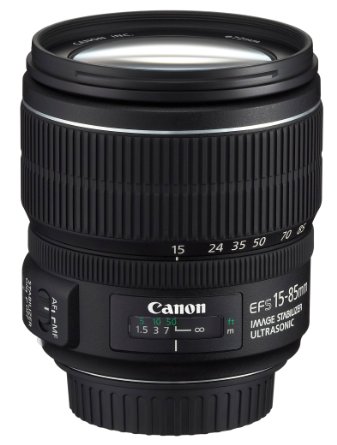
Camera and Lens Reviews
 |
 |
 |
More from picture power


A COMPLETE PHOTOGRAPHY TEACHING KIT


Search
Picture Power